Set up EPiServer CMS and Commerce with AspNet Identity from scratch

Back to 2015, I wrote a blog post - Set up EPiServer CMS + Commerce in 11 steps based on Episerver version 9. After 4 years, the setup steps still largely remain the same if you want to use default aspnet membership. Thanks to Episerver product development team great work to keep the platform upgrade and maintain the backward compabilities.
In this blog post, I will walk you through from beginning on setup CMS Commerce first, then follow by setup identity on both Commerce manager and CMS. If you’re already familiar with CMS and Commerce setup, you can skip Set up CMS project with Commerce, Set up Commerce project (Commerce manager) and jump to Set up AspNet Identity in Commerce project, Set up ASpNet Identity in CMS project directly.
- TOC
Prerequisites
- Visual Studio 2017/2019
- Windows 10 with localdb installed.
- EPiServer CMS VSIX. (You can install within Visual Studio Extension Manager or download from here)
Getting Started
Set up CMS project with Commerce
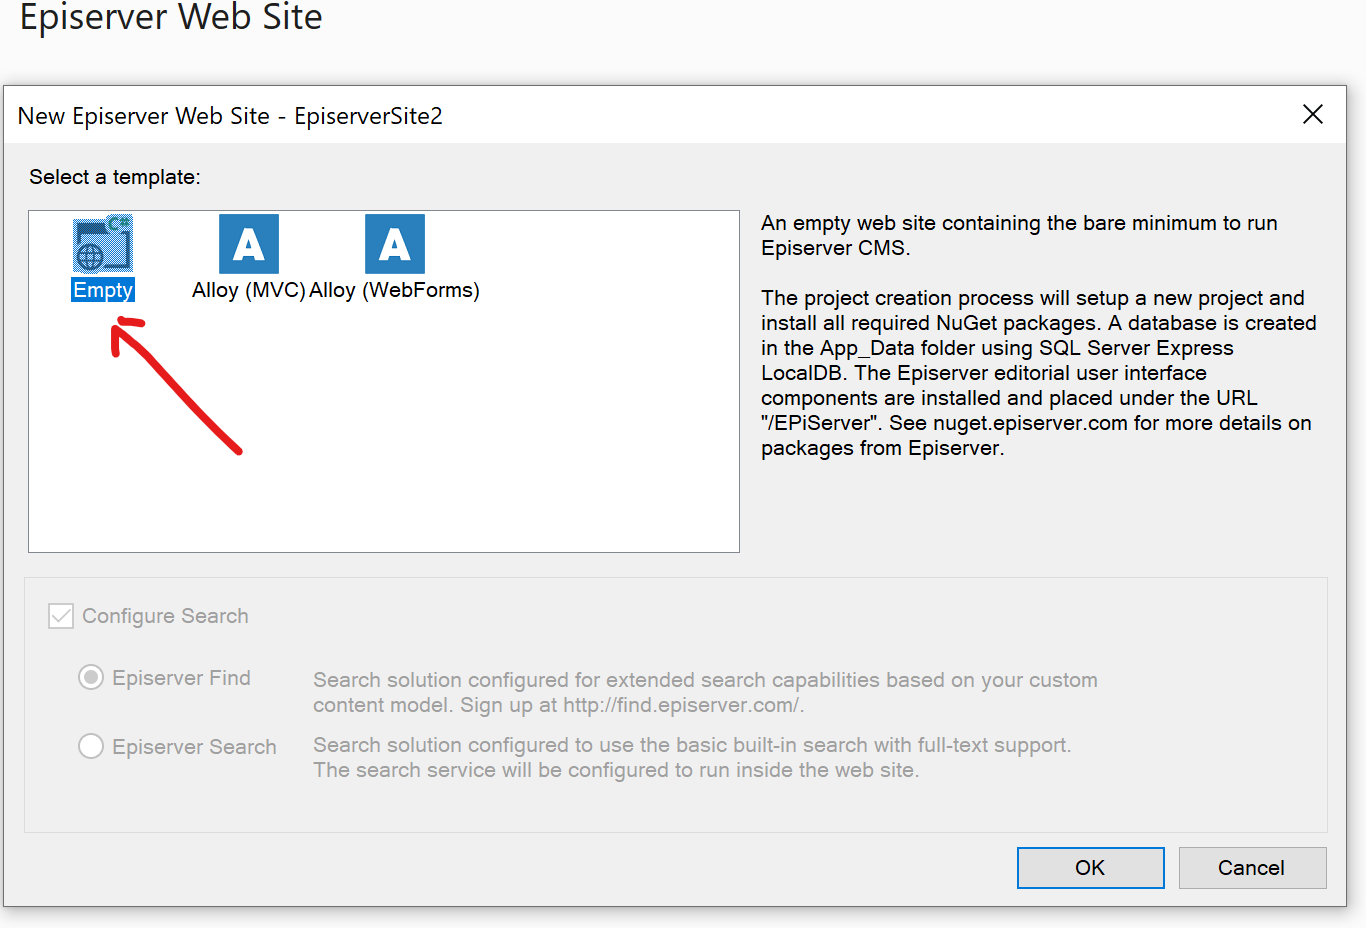
- Use EPiServer VSIX template to set up an empty CMS project.
- UPDATE all EPiServer packages to latest except
CastleandNewtonsoft.Json.Warning: At the time of writing this blog post, the latest EPiServer.Commerce is 13.10.0, and it has dependecy on EPiServer.Commerce.Core which depends on Newtonsoft.Json (≥ 9.0.1 && < 12.0.0) The EPiServer.CMS.Core has dependency on Castle.Windsor (≥ 4.1.0 && < 5.0.0)
- Install
EPiServer.Commercepackage into CMS project. - Run cmdlet
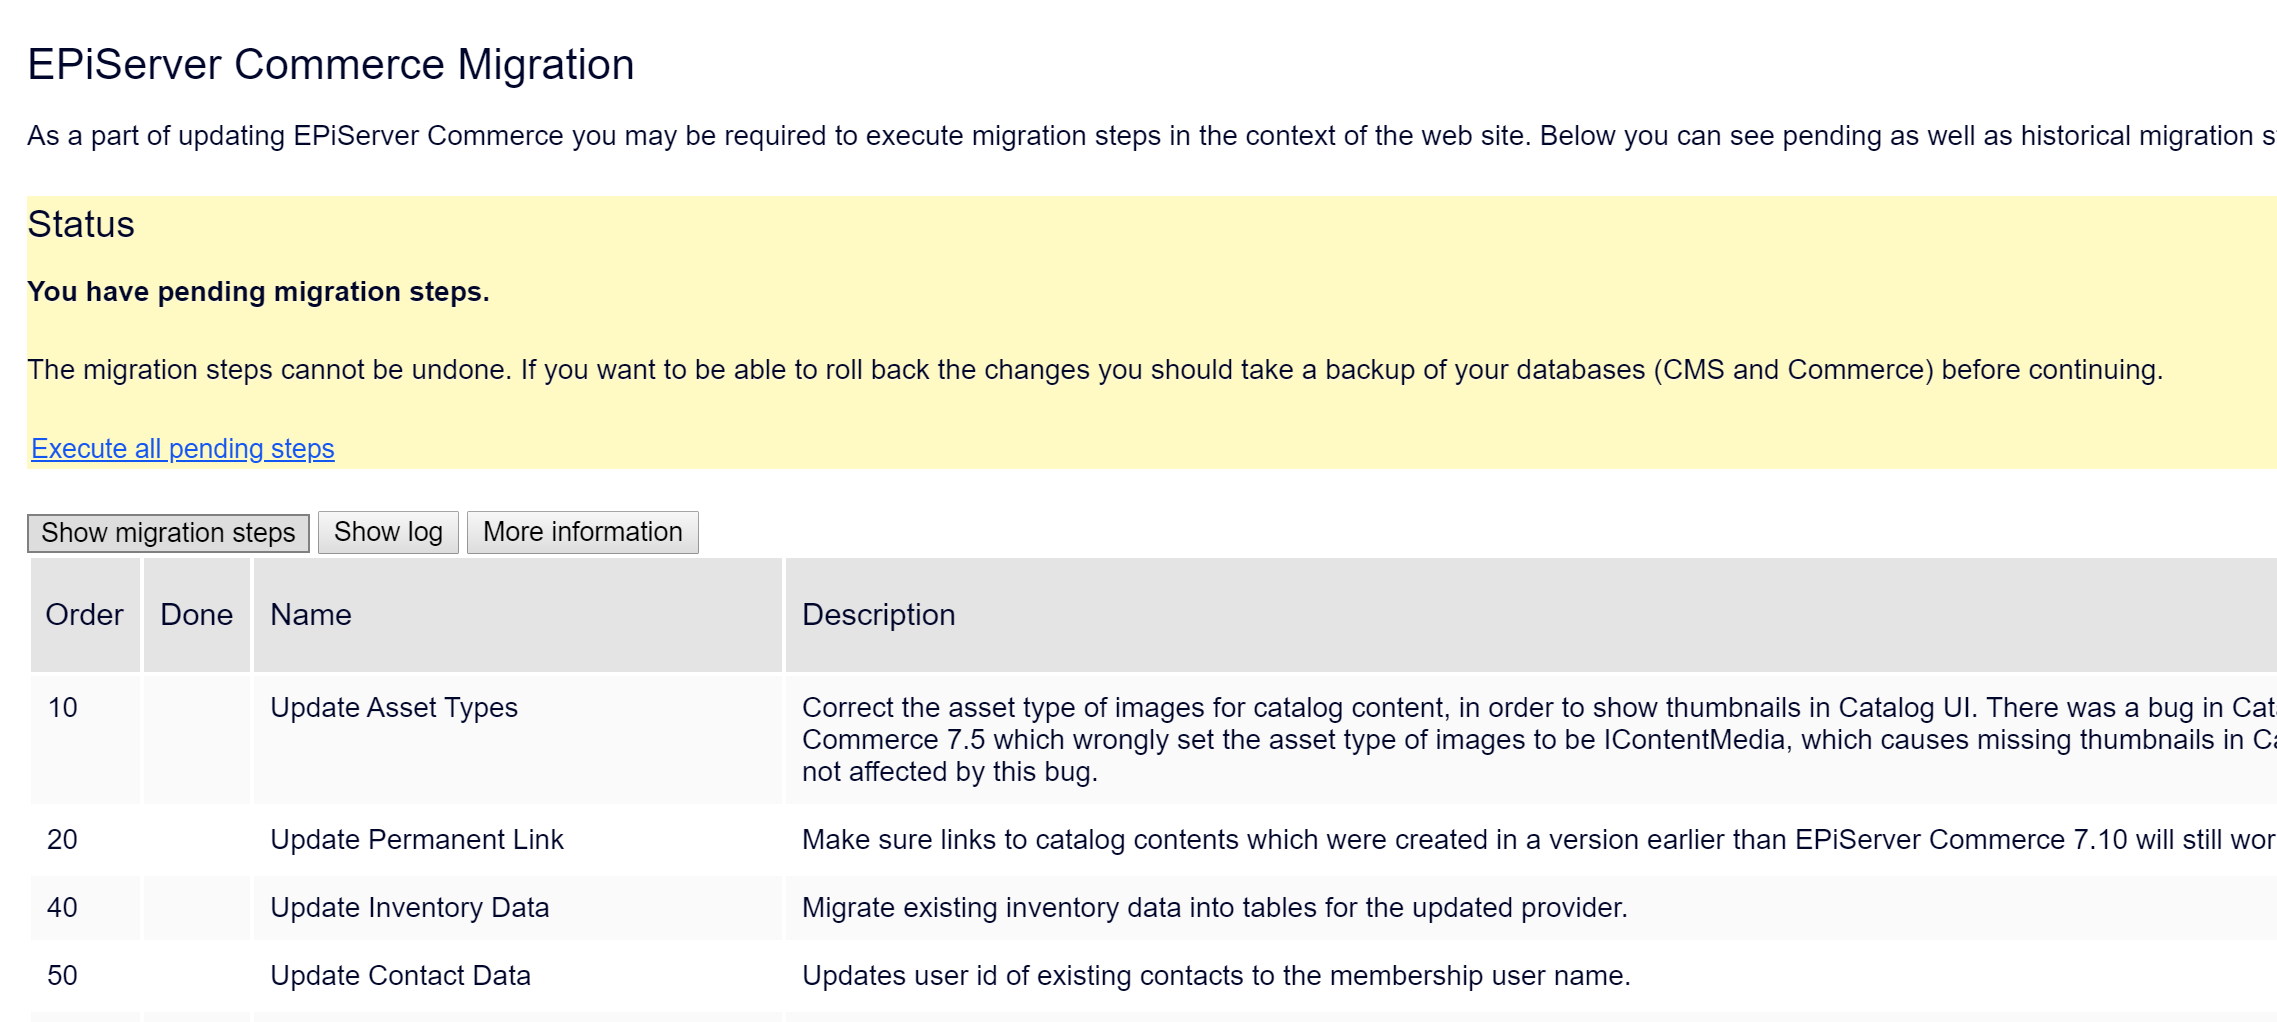
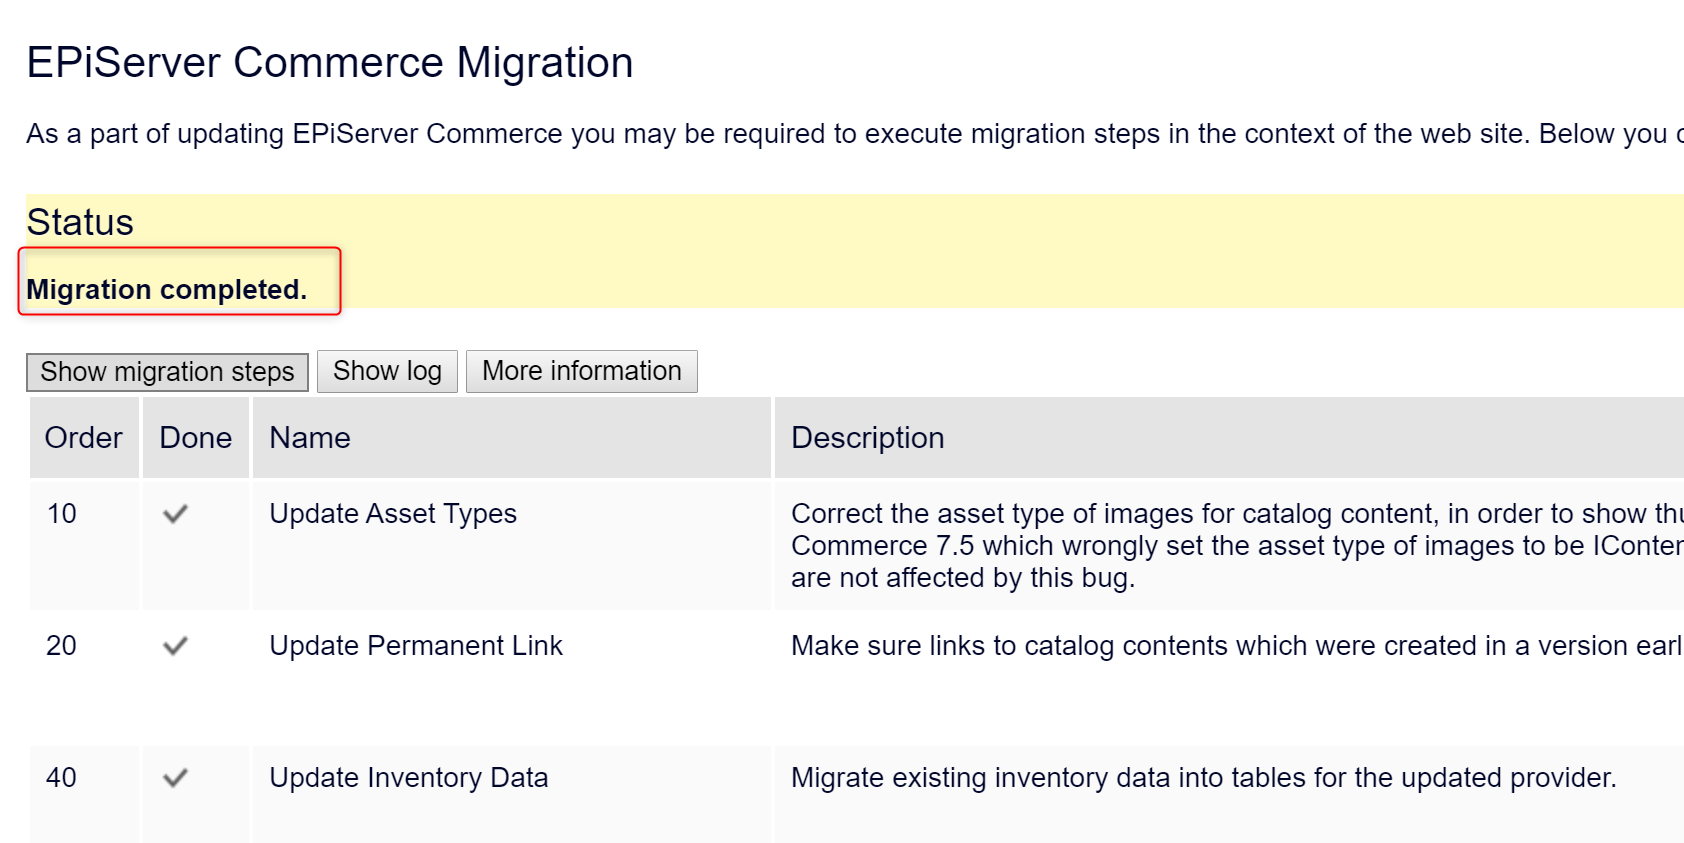
update-epidatabasevia nuget package console to update database with all latestes SQL scripts. Login to CMS administrative interface with default credntials, then clicks “execute all pending steps” link to run the migration
username : admin
password : store
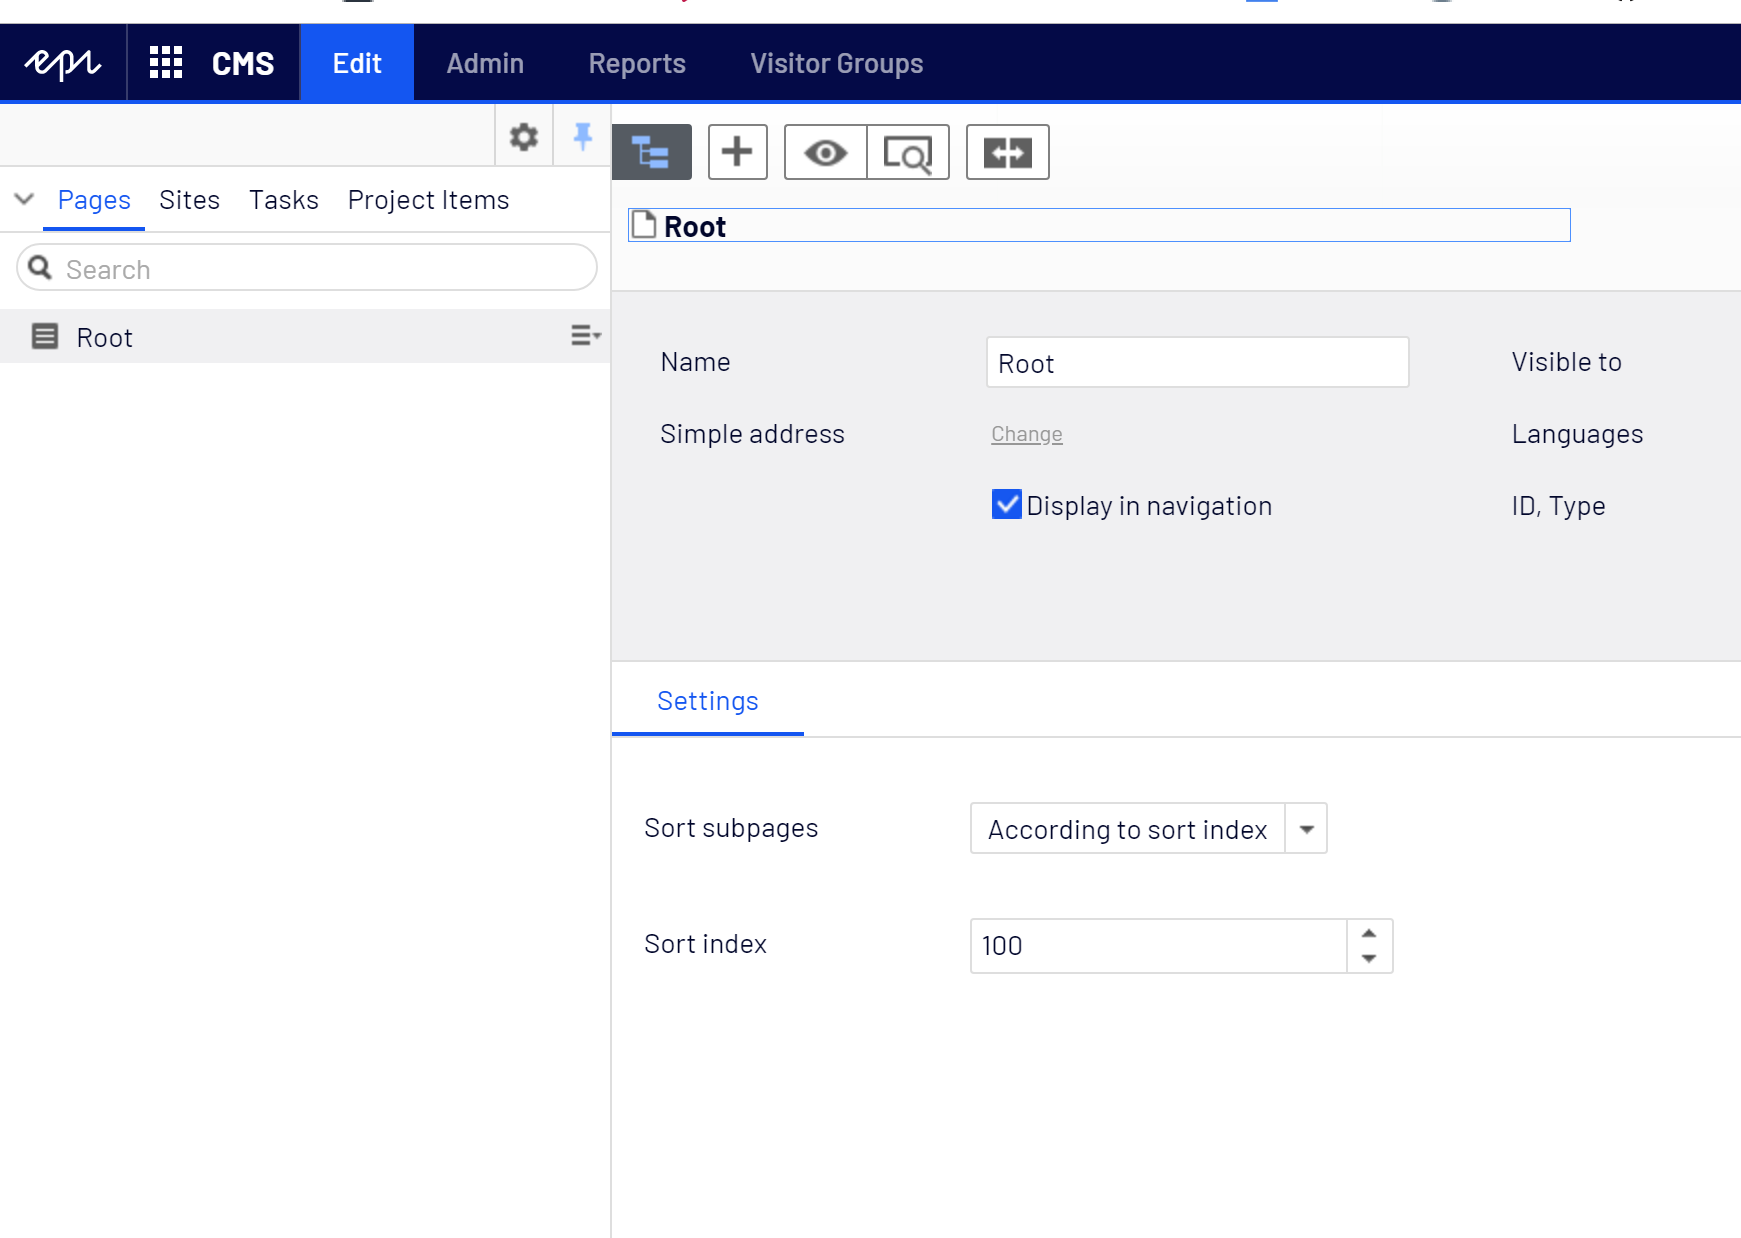
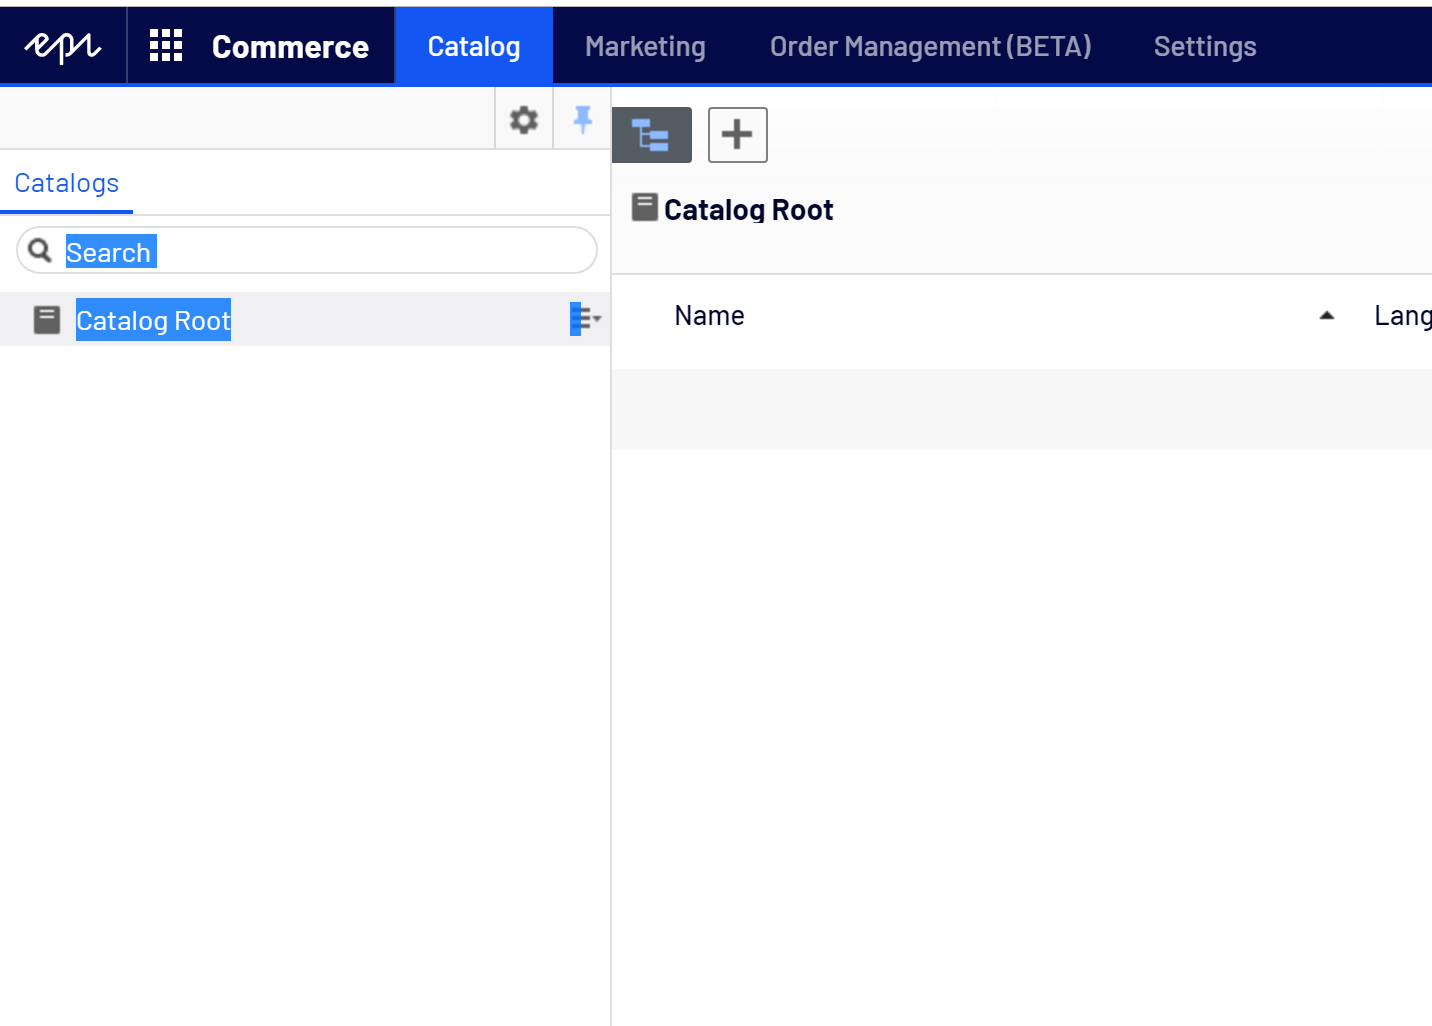
- Once complete the migration, go to verify both CMS and Commerce.
Set up Commerce project (Commerce manager)
- Create an empty Mvc application with Visual Studio.

- Install
Episerver.CommerceManagerpackage into Commerce project.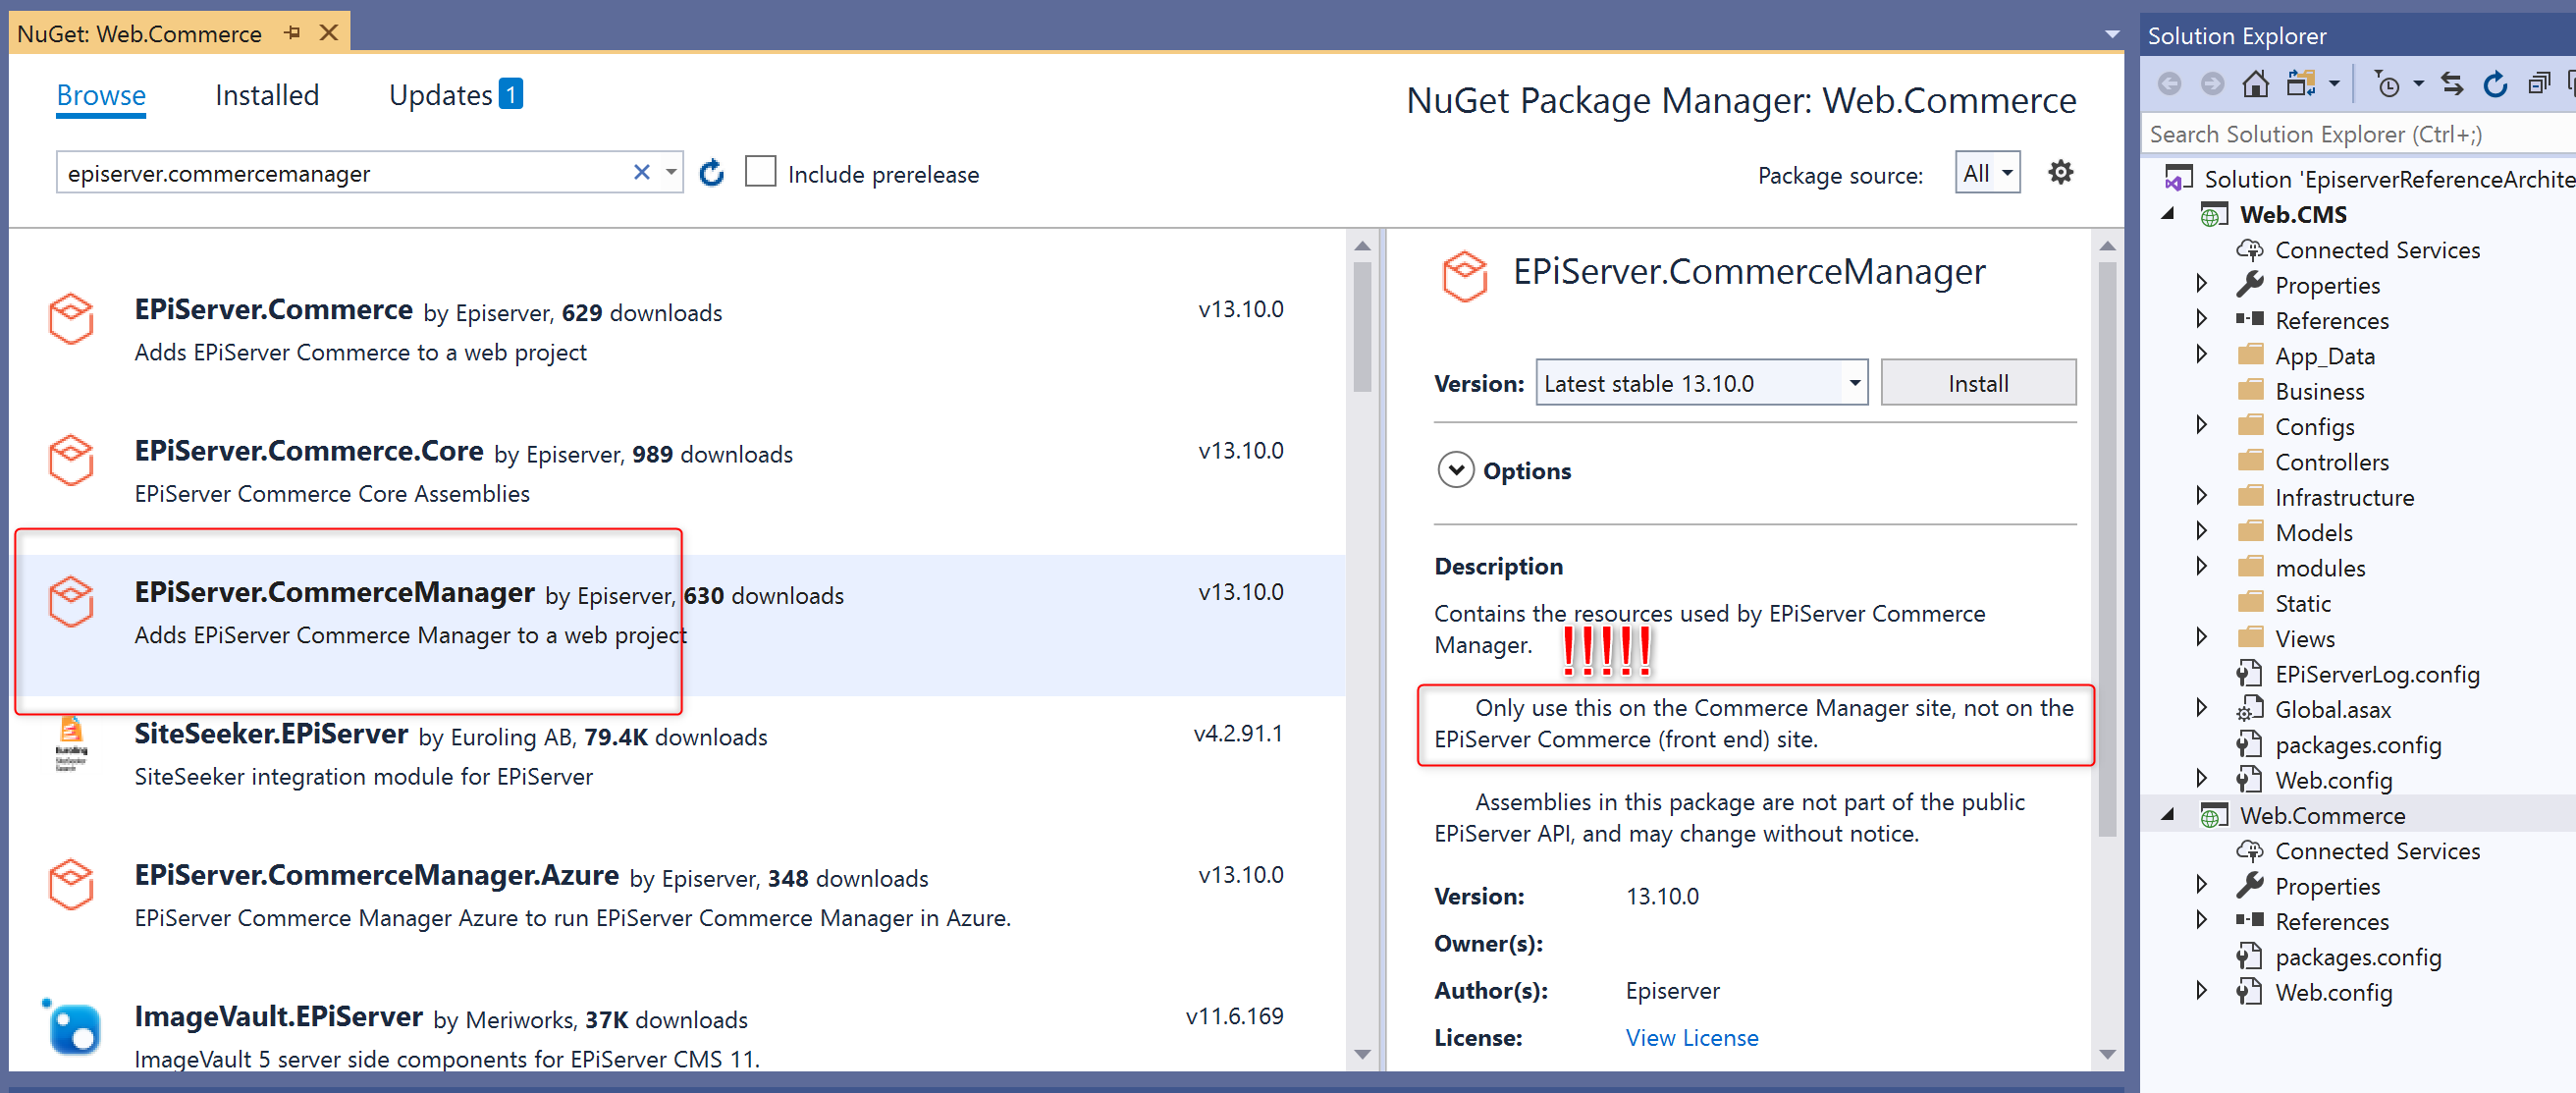
- Run cmdlet
update-epidatabasevia package manager console. - Show all files and include
App_Data,App_GlobalResources,Apps,NotificationTemplatesfolders andDefault,Global.asax,EPiServerDefault.aspx,EPiServerLog.configfiles.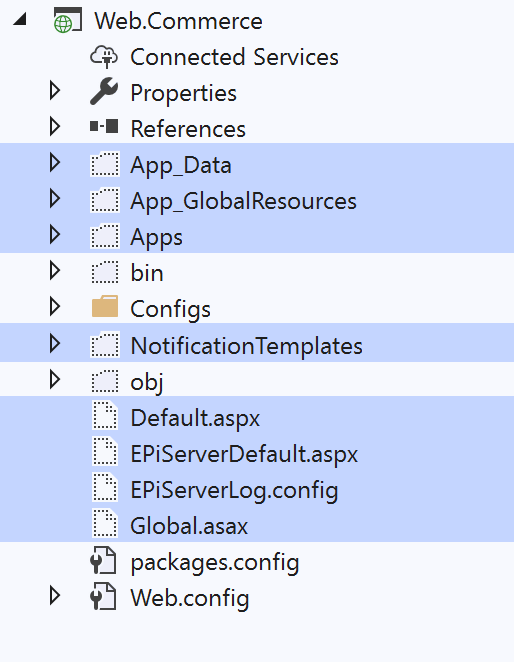
- Make sure “CommerceManagerLink” in CMS is pointing to commerce manager url.
1
<add key="CommerceManagerLink" value="http://localhost:{port}/" />
Set up AspNet Identity in Commerce Manager project
- Install
EPiServer.CMS.UI.AspNetIdentitypackage into the Commerce project. - Install
EPiServer.ServiceLocation.StructureMappackage into the Commerce project. - Create an Owin startup named Startup.cs under root of Commerce project.
- Execute the SQL script will create default user
admin@example.comwith passwordstorein AspNet Identity table - Create
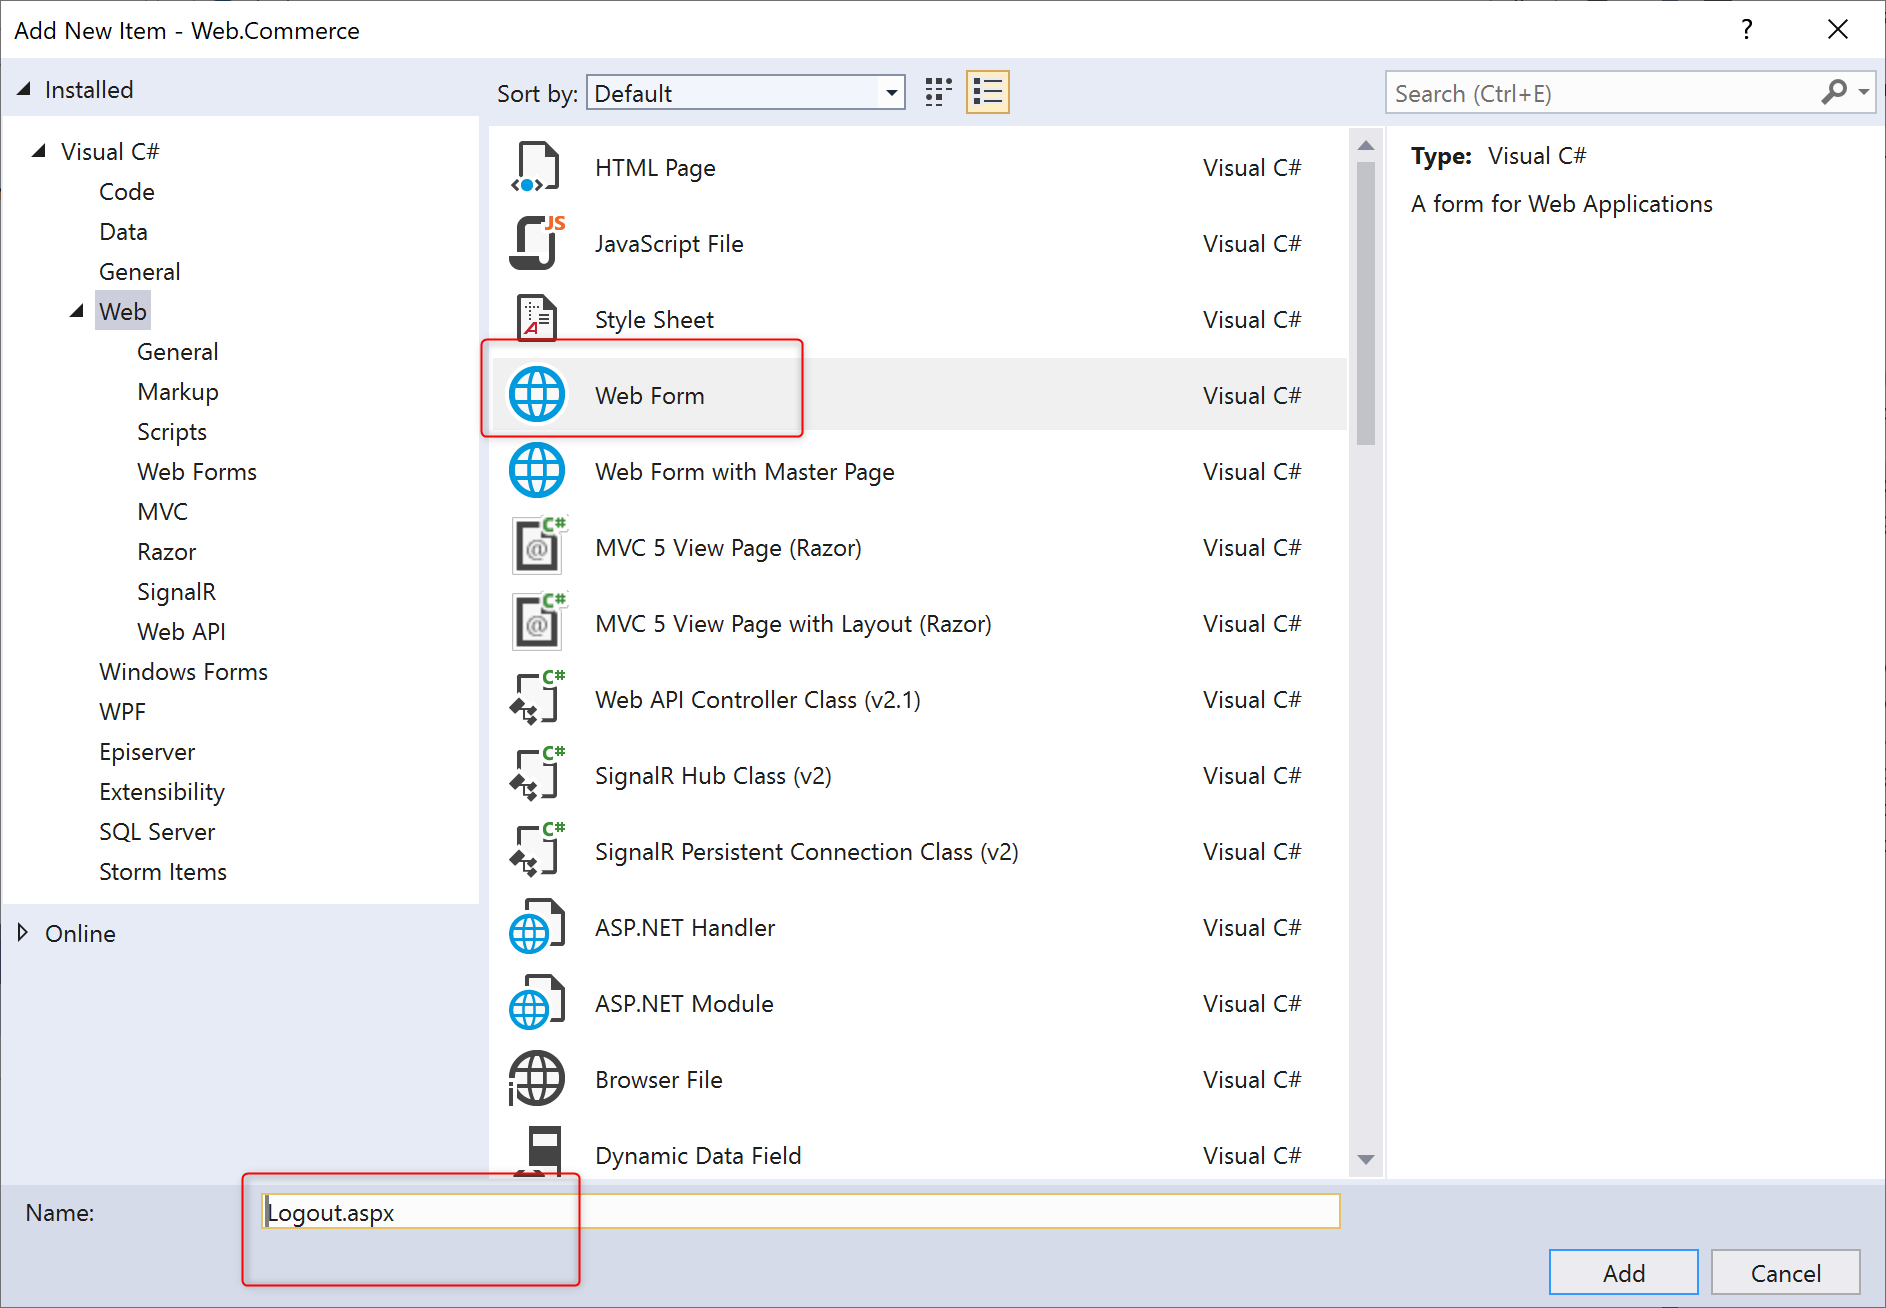
Overridesfolder under root and create the following web form page/control under Overrides folder. Commerce Manager is a legacy WebForm system, and coupled with old ASP.NET membership provider by default. What we’re doing here is to create custom version of login/logut page and later in the code-behind file we can overwrite with AspNet Identity implementation.
- Login.aspx
- Login.aspx.cs
- Login.aspx.designer.cs
- Logout.aspx
- Logout.aspx.cs
- Logout.aspx.designer.cs
- MembershipAccountEdit.ascx
- MembershipAccountEdit.ascx.cs
- MembershipAccountEdit.ascx.designer.cs
Locate
login.aspxandlogout.aspxfile under/Apps/Shell/Pages/directory,MembershipAccountEdit.ascxfile under/Apps/Shell/Customer/Modules, and update the Page directive with your custom one accordingly.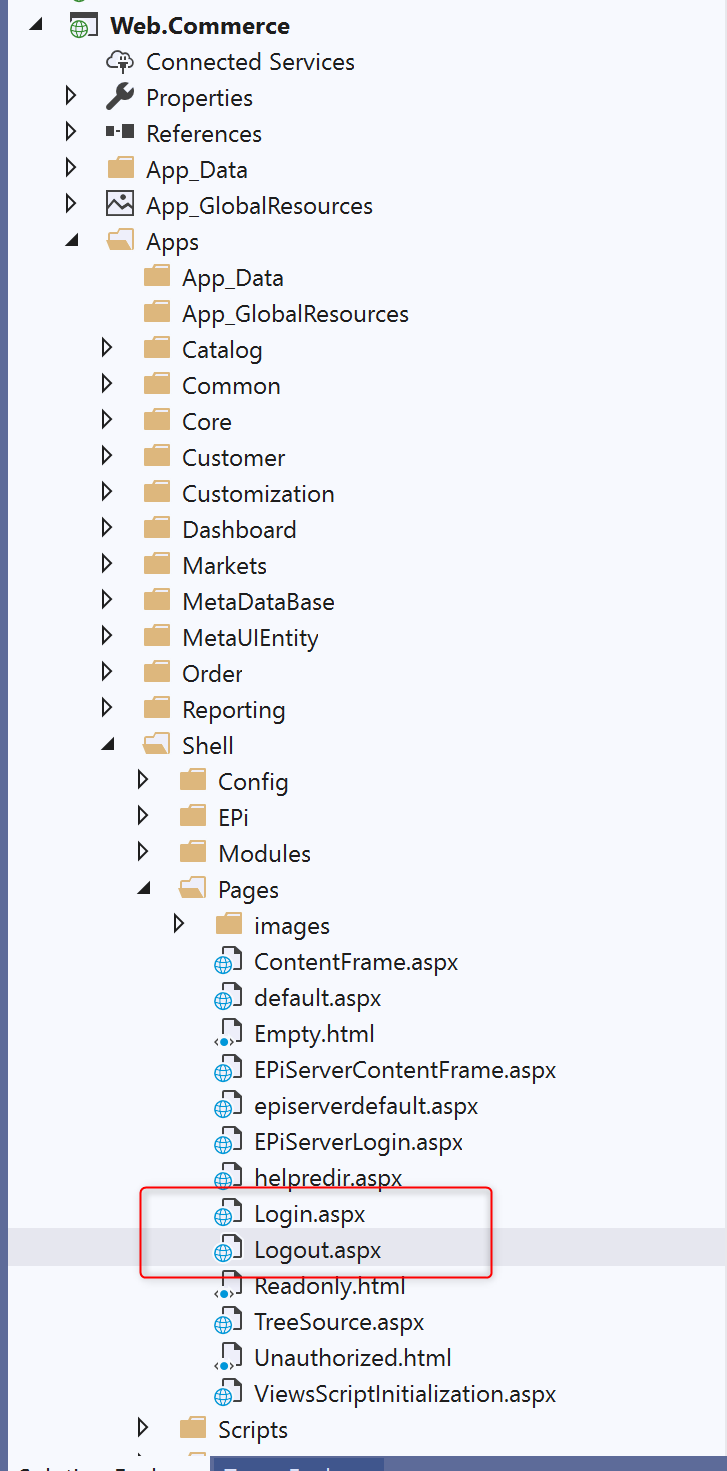

Add a new Initialization Module file - IdentityInitialisation.cs under your Commerce Manager root folder.
NOTES: This module is primarily used for adding Identity dependencies to IoC container, so in MemberShipAccountEdit user control code-behind, we can get instance of
ApplicationUserManagerandApplicationSignInManagerfrom ServiceLocation.- Add the following
<location>elements to your Commerce projectweb.config`xml`
NOTES: This step is important, otherwise you’ll get infinite redirect loop when access to commerce manager logi.aspx page.
- Locate
authenticationsection in web.config and change mode toNone
- Locate
membershipsection in web.config and replace with the following
1
2
3
4
5
  <membership>
    <providers>
      <clear />
    </providers>
  </membership>
- Locate
roleManagersection in web.config and replace with the following
1
2
3
4
5
  <roleManager>
    <providers>
      <clear />
    </providers>
  </roleManager>
Set up AspNet Identity in CMS project
- Create an Owin startup named Startup.cs under root of CMS project.
- Locate
authenticationsection in web.config and change mode toNone - Locate
membershipsection in web.config and replace with the following
1
2
3
4
5
  <membership>
    <providers>
      <clear />
    </providers>
  </membership>
- Locate
roleManagersection in web.config and replace with the following
1
2
3
4
5
  <roleManager>
    <providers>
      <clear />
    </providers>
  </roleManager>
It’s the end, and that’s all you need to do for the setup. Enjoy your Episerver development with ASPNET Identity.
References
Happy Coding! 😇
Comments powered by Disqus.